Architectural Model Making
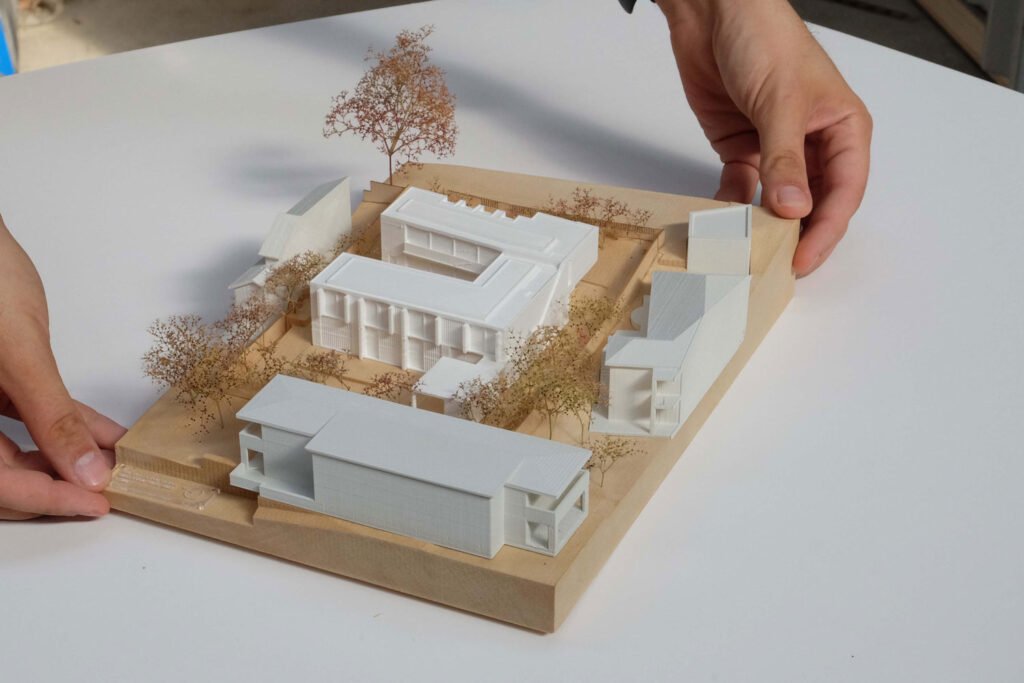
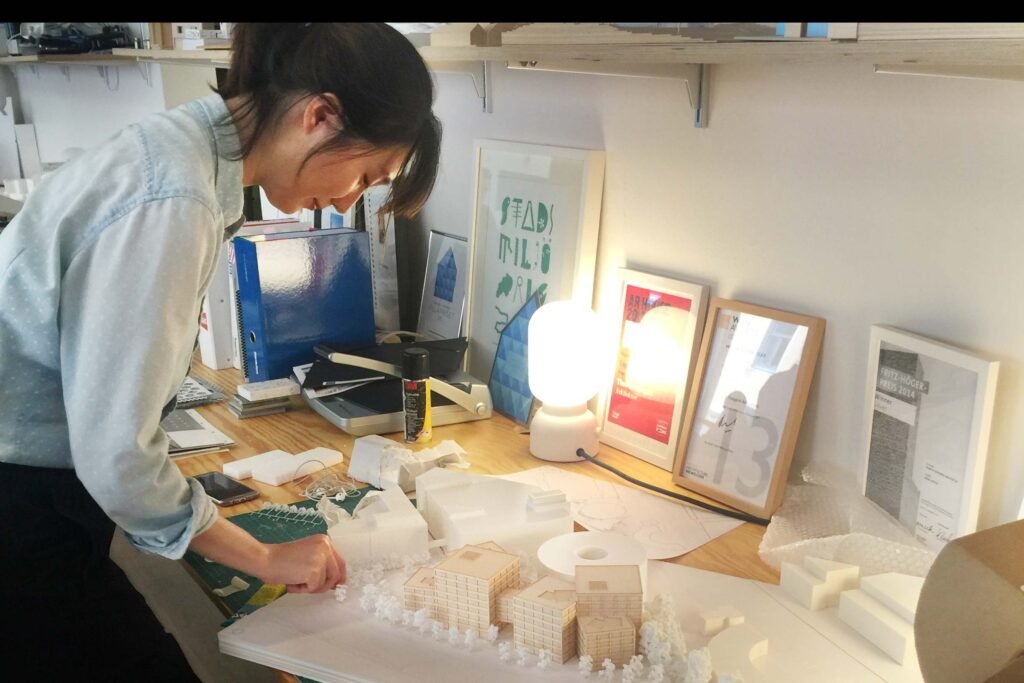
Architectural models are one of the most important tools for an architect. Every architecture student learns to make a model since their first year in graduate school. A physical model gives a clear idea of the building’s visual and construction. Even in this age of technology, architects rely on model making because there are so many factors you can sense with a traditional model that a 3D model can’t seem to create. A physical model makes communication easier with the client. There are various ways and tools you can use to make a model. We will give you a clear guide on how you can make an architectural model properly.
1.Have the necessary tools
To start model making, you need some basic tools: a cutting mat to cut on, an X-Acto knife or an anti cutter, a triangular scale for measurements, a steel edge for cutting reference, and fine forceps to hold onto tiny material pieces. These are almost the basic tools you need to make a complete model, but of course, you can opt for more advanced tools. Other necessary items include masking tape, superglue, white carbon paper, and general-purpose glue.
2.Choose your model scheme and materials
Decide on your model scheme. Do you want your model to be in a realistic scheme or an abstract scheme? In a realistic scheme, you will need to use real color materials and real-looking model elements. On the other hand, in an abstract scheme, you can choose any color scheme you like. To decide which one will look good, you can learn about color theory, search on Pinterest, and Google for ideas. Once you have chosen your scheme, it’s time to select model materials. Some common materials include cardboard, balsa wood, foam board, MDF boards, plastic sheets, ice-cream sticks, acrylic sheets, and papers. You can choose any material depending on your model scheme and type.

3.Make a to-do list
Model making requires planning, from your choice of colors and materials to cutting and detailing. Make a list of tasks you need to do to finish the model. Write down every step to create a mental map of how long each step will take, and the list will also help you make decisions. Keeping track of your progress is important to avoid missing any steps that could ruin your work.
4.Prepare your base
One of the first tasks before starting your main model is to complete most of the work on your base. Decide on your base size and choose a stable, hard material for the model to sit on once it’s done. The colors of your base elements should contrast with your model so it attracts attention and looks good. Mark the landscaping areas, add necessary colors, and then cut and attach the roads and pedestrians to their right places.

5.Make slabs (Horizontal elements)
Slabs are the main horizontal elements of the model. For a complete handmade model, you will have to go through the following process: Print out your plan on the required scale, attach the plan to the cardboard or balsa wood or whatever material you are using, making sure to place a white carbon paper between the print and your material sheet. Then trace over the plan lines with an X-Acto knife or a lead pencil. Once you have copied the whole plan onto the material sheet, cut it out with an X-Acto knife. Make sure to use a steel edge for a straight cut. You can also laser cut the slab, but that will cost you a lot more money.
6.Make facades (Vertical elements)
After you finish cutting the slabs, it’s time to cut the facades. Facades or outer walls are the model’s vertical elements. Depending on your model, you might cut some interior walls, but if the interior walls can’t be seen from outside, you can skip them to save some time. However, it is a good practice to make all the walls. The interior walls will support the slabs. The outer facades can be cut in two ways. We prefer a continuous facade that hides the slab from the outside. Don’t forget to punch out all the openings from the facade.

7.Add details
Now that the main horizontal and vertical elements are ready, it’s time for the details. Make staircases, add railings to the semi-outdoor spaces and staircases, and add paneling to the openings. You can also make glass windows with transparent paper and doors with your choice of materials. Some people like to give different tile textures to the floors. There is no end to how many details you can add to your model, just make sure you keep track of time.
8.Join everything
After your cutting is done, join the pieces in the right place. You can either cut everything and then join, but some might find it confusing to determine which piece joins to which other. You can avoid this confusion by working in segments. Cut the elements of one portion of the model and join them right after, then start with another portion. You need to choose the right type of glue for your material. Some materials may only require superglue, but superglue can ruin materials like model papers. In that case, use paper glue or general-purpose glue.

9.Landscaping
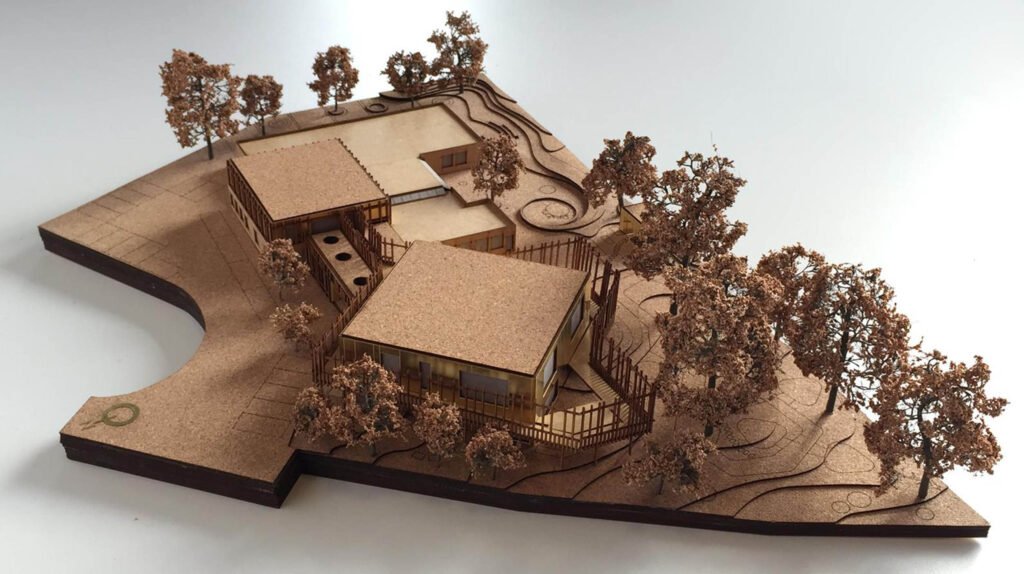
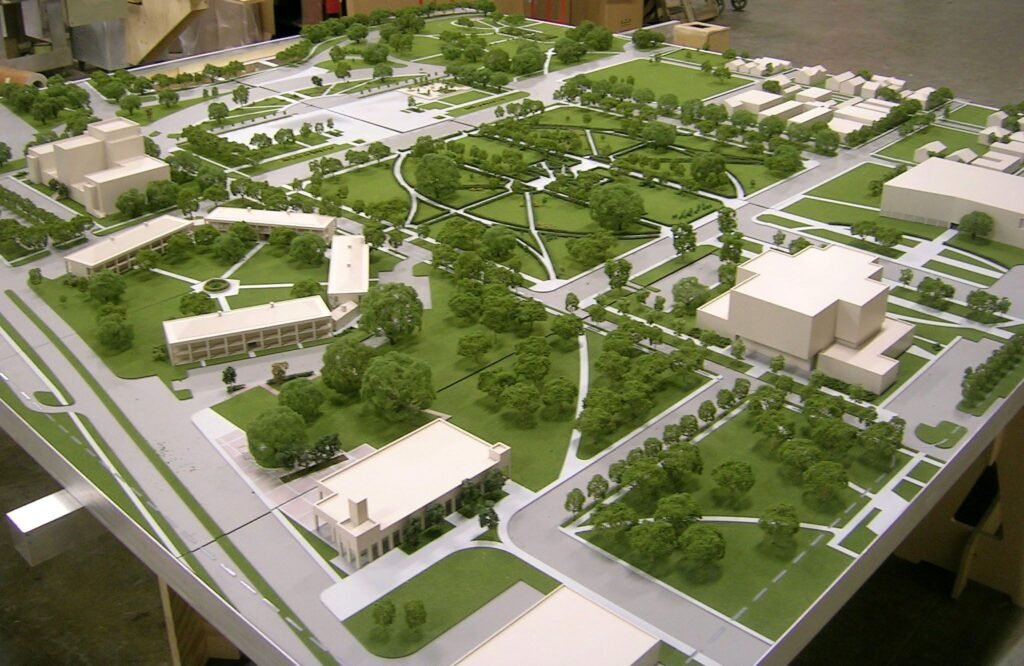
Adding some landscape is the finishing touch. Make some paper trees and grass to add to your model. Natural landscaping elements add a story to the model. You can also add footpaths into the grass and add detailed colors to the water bodies. There are various types of landscaping elements you can add to your model to make it look better.
And your model is ready. Remember that different schools can use different methods for model making, so it’s always a good idea to learn from your seniors at school. We can only give a heads up. The best way you will learn is by doing. You will figure out a lot more techniques of your own while making a model.
